Showing posts with label crafts. Show all posts

Tuesday, 20 September 2011

Creations In Burlap

Here's to
A little Burlap Inspiration! 


Beautiful Burlap Pillows
 womansday.com

Burlap Gift
2.  google.com

Burlap Party Bags
3.  southernliving.com

Chalkboard with Burlap Bow
4.  buckets of burlap.blogspot.com

Burlap Mannequin
5. dearlillieblog.blogspot.com

TRICK OR TREAT PILLOWS
6. etsy.com

Sweet Burlap Accessories
7. jaysonandashley.blogspot.com

Christmas Burlap Stockings
I see burlap stockings everywhere!
8.  makeit-love-it.com
9. eabdesigns.typepad.com


10.  google.com
11.  dearlillieblog.blogspot.com

I love the CREATIVITY of BURLAP!
I'm truly inspired--I hope you are too!

12.  freckledlaundry.com
13.  burlap banner/etsy.com

Do what you LOVE.....LOVE what you do!
What is your favorite burlap creation?
I love the burlap mannequins.
I'm working on new pumpkins
with a little touch of burlap!
Burlap creations coming soon!
Thanks for visiting!

Hey Howdy Hey---Have a GREAT DAY!

Monday, 12 September 2011

Pumpkin Harvest Giveaway

Hello Friends!
In celebration of
THE TWELVE DAYS OF CREATIVE FALL
IT'S TIME FOR A PUMPKIN HARVEST GIVEAWAY!
THREE FIRMLY STUFFED PUMPKINS OR APPLES WILL BE DELIVERED TO
YOUR FRONT DOOR!

HOW TO ENTER:
1st Entry
Simply leave a comment about your favorite
Twelve days Of Creative Fall Post
2nd Entry
Follow Deck The Halls OF HOME with JOY
3rd Entry
Visit my Etsy Shop, pick a favorite item.
Leave a separate comment for each entry.
(All comments from previous posts for
The Twelve Days Of Creative Fall will be counted as entries).

PUMPKIN HARVEST WINNER
 will be announced 
FRIDAY Sept 16, 2011
Best of  LUCK, thanks for entering!

THIS GIVEAWAY IS NOW CLOSED

Tuesday, 6 September 2011

Spookyville Tales

Welcome back to Spookyville.....
The Twelve Days of Creative Fall

Come along and Read some Spookyville Tales!
Today--It's all about a BOO-TI-FUL Halloween!
Make it Fun, Make it SIMPLE!

Halloween Signs can be made with scraps of wood, newsprint,
  modge podge, and black vinyl lettering.
You may find similar signs at Tai Pan Trading. 
The fun part is coming up with Creative Book Titles.
You can even personalize with Family Names.

All you need is a few supplies:  Black and White Polka Dot Wrapping Paper or paper
of your choice, Wood Scraps, (you can pre-cut at Lowes), jute twine, rick rack,
Halloween Book Titles made from your Computer Printer
More ideas are coming withe these same wood scraps!

I've shown different ways to display your Halloween Books.
You can dress them up with tulle, ribbons and trims!

Next: 
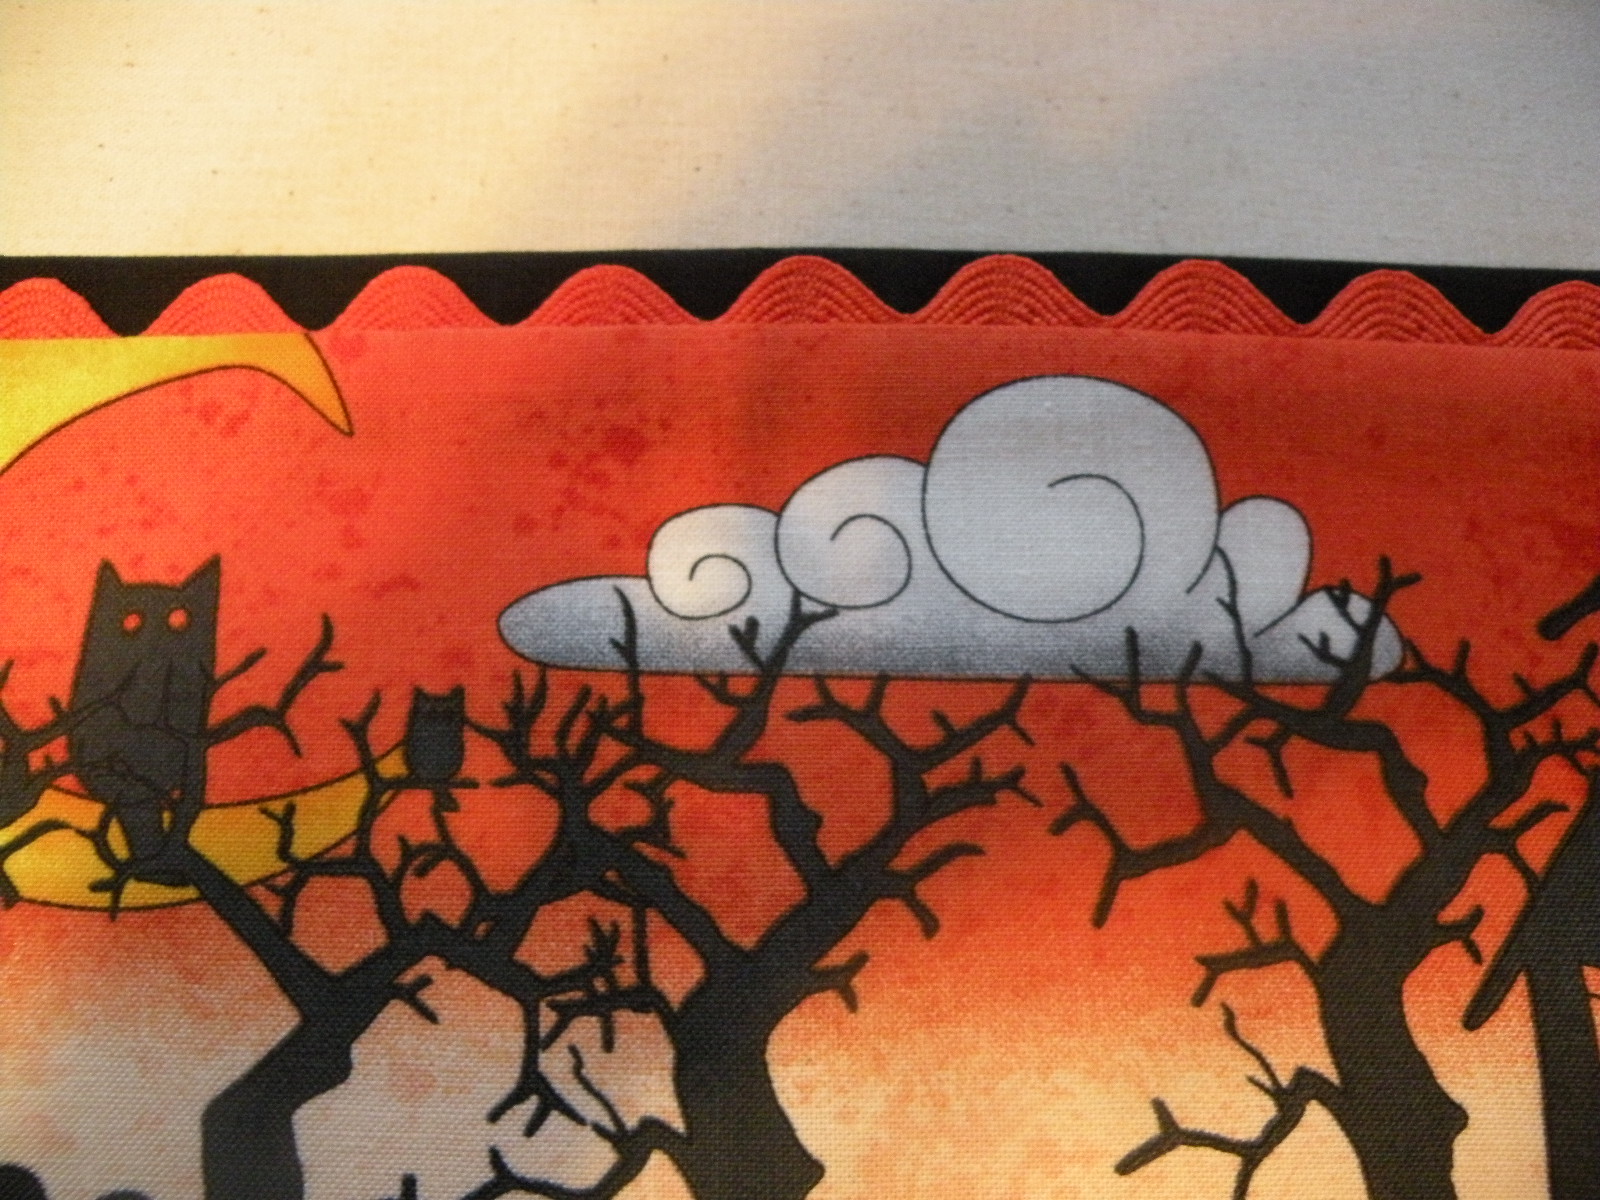
Halloween Picture Frames from fabric scraps
 from the Spookyville Fabric Panel
(Spookyville Halloween Bags-previous post)

I added black fabric trim with orange rick rack to the border.

Cover your Picture Frame illustration board with wrapping paper or Fabric.
I purchased a medium size roll of black and white wrapping paper from
The Quilted Bear in Midvale, Utah.
(You may be seeing more ideas with this wrapping paper! :)
It is thick paper and works well!
The fun part is deciding where to display your Halloween Art!
Enjoy!

I found this "B" Glass Frame at Kirkland Home.
I knew it would become useful for SEASONAL DECOR!

I used the same black and white wrapping paper with Moda Polka Dot Fabric Scraps.
The Dotties from Moda--Love the ORANGE color!
You can easily change the the look with Christmas Red and White Polka Dot paper.

Enjoy a Halloween in Polka Dots!

Come back and visit some more Spokyville Tales!
BOO TO YOU!

You can also makeHalloween pillows from the same Spookyville Fabric panel!
I made my pillows reversible, so I can use them for other uses as well.

Sweet Dreams!

My sister, Annette( anniemoorecreations) created and quilted this adorableTable Runner
from the same Spookyville Fabric Panel.
We were talking on the phone about Halloween projects in progress. 
We discovered we were both working on the same
Spookyville Fabric!
(We purchased the Spookyville Fabric Panels on a fun shopping trip this past summer).

Thanks for visiting!
There are six more days of
The Twelve Days Of Creative Fall!
Have a TERRIFIC TUESDAY!
I will see you all tomorrow! :)


Friday, 22 July 2011

Rick Rack Flowers

Rick Rack Flowers....Adorable!
I found the pink rick rack rosette flowers on pinterest!
I love it so much, I'm embellishing head bands for Back To School!
The tutorial is in Spanish, but the pictures are easy to understand.
You can find the tutorial here:
(There are several different versions of rick rack flowers/google.)

I simply made my rosettes by rolling the rick rack together and securing into place with
a glue gun--no sewing!
There are a lot of creative ideas for using rick rack rosette flowers!
T-shirts, handbags, rings, necklaces, bracelets, the list goes on!

I will be making more for the holidays!
I think red and white rick rack would be great for Christmas.

Enjoy!